Social media apps are great—until privacy issues, login errors, or strange notifications start hurting your experience. Many users don’t know that Facebook, Instagram, TikTok, and others include powerful settings that help you stay safer, fix common problems, and control what people see about you. This guide shows the most useful social media settings everyone should enable.
Why Do People Struggle With Social Media Settings?
Many users face problems because settings are hidden or confusing.
Here are the most common reasons:
- App updated and settings moved
- Account locked due to unusual activity
- Privacy options not turned on by default
- Cache/data issues causing wrong notifications
- Weak passwords or no 2FA enabled
- Incorrect permissions on Android or iPhone
These reasons are based on common user reports and general troubleshooting recommendations.
Step-by-Step Settings You Should Enable on Every Social Media App
Below are the most useful settings across Instagram, Facebook, TikTok, WhatsApp, and X (Twitter). These work on both Android & iPhone.
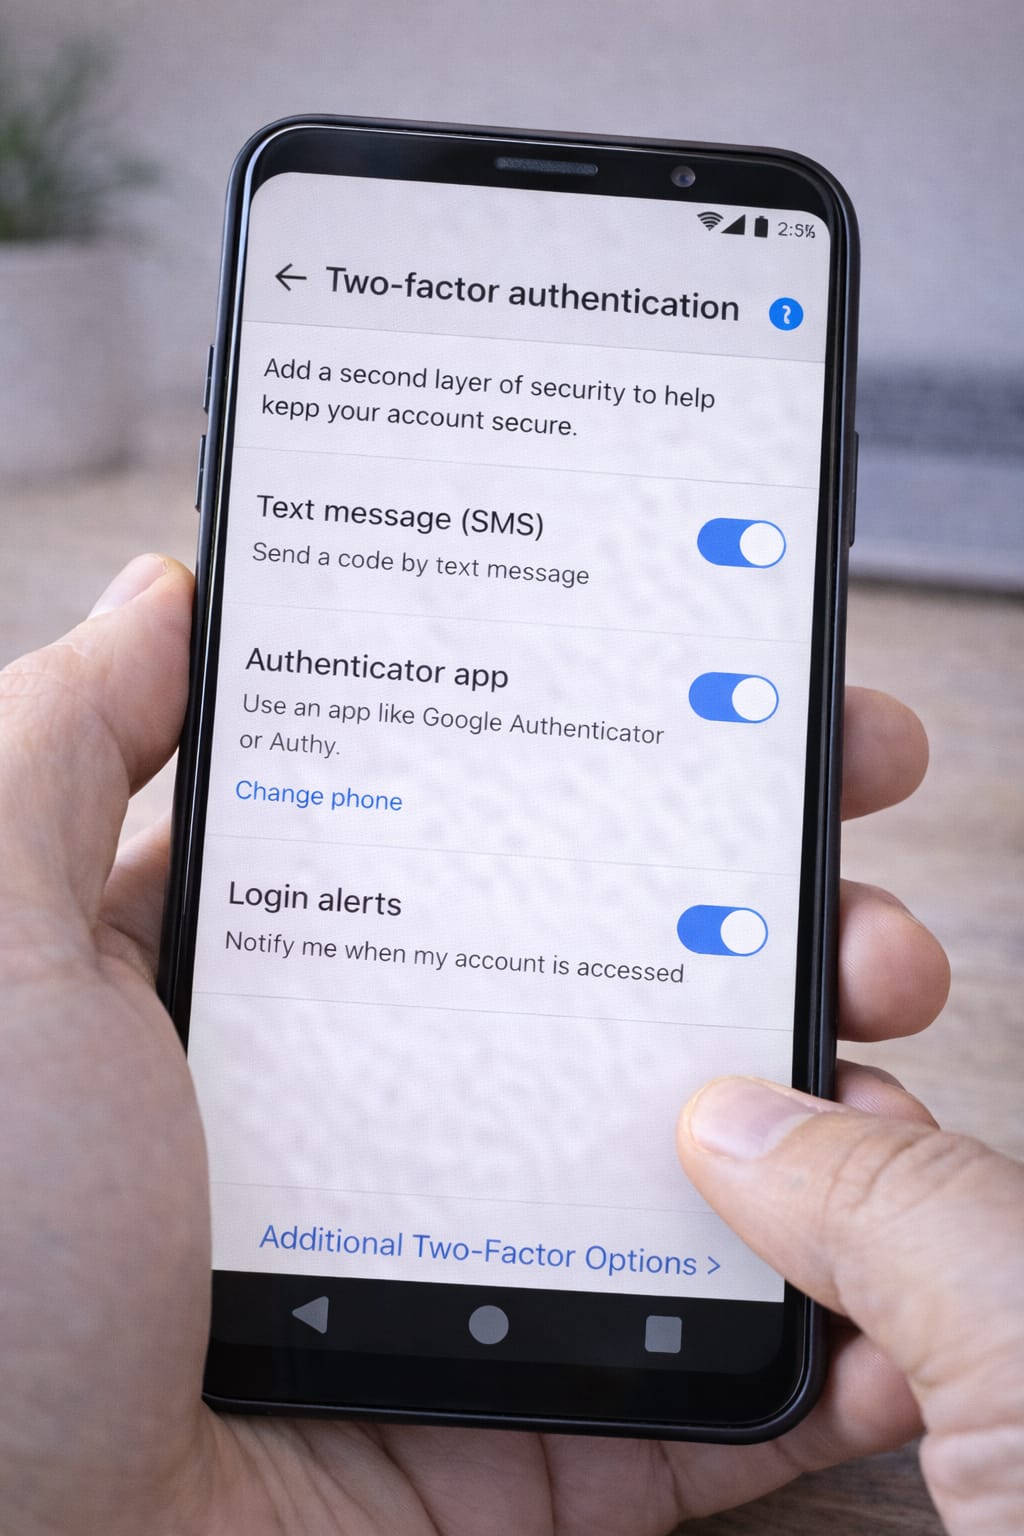
1️⃣ Enable Two-Factor Authentication (2FA)
This prevents unauthorized access, even if someone knows your password.
Where to find it (common apps):
- Instagram: Settings → Accounts Center → Password & Security → Two-Factor Authentication
- Facebook: Settings → Security & Login → 2FA
- TikTok: Settings → Security → 2-Step Verification
[Insert Screenshot Step: 2FA Settings]
2️⃣ Check Login Activity & Logged-In Devices
This helps you detect if someone else is using your account.
What to do:
- Open the app settings
- Look for “Security,” “Login Activity,” or “Devices”
- Log out of any unknown devices
Many users said they found old logins from laptops they forgot about.
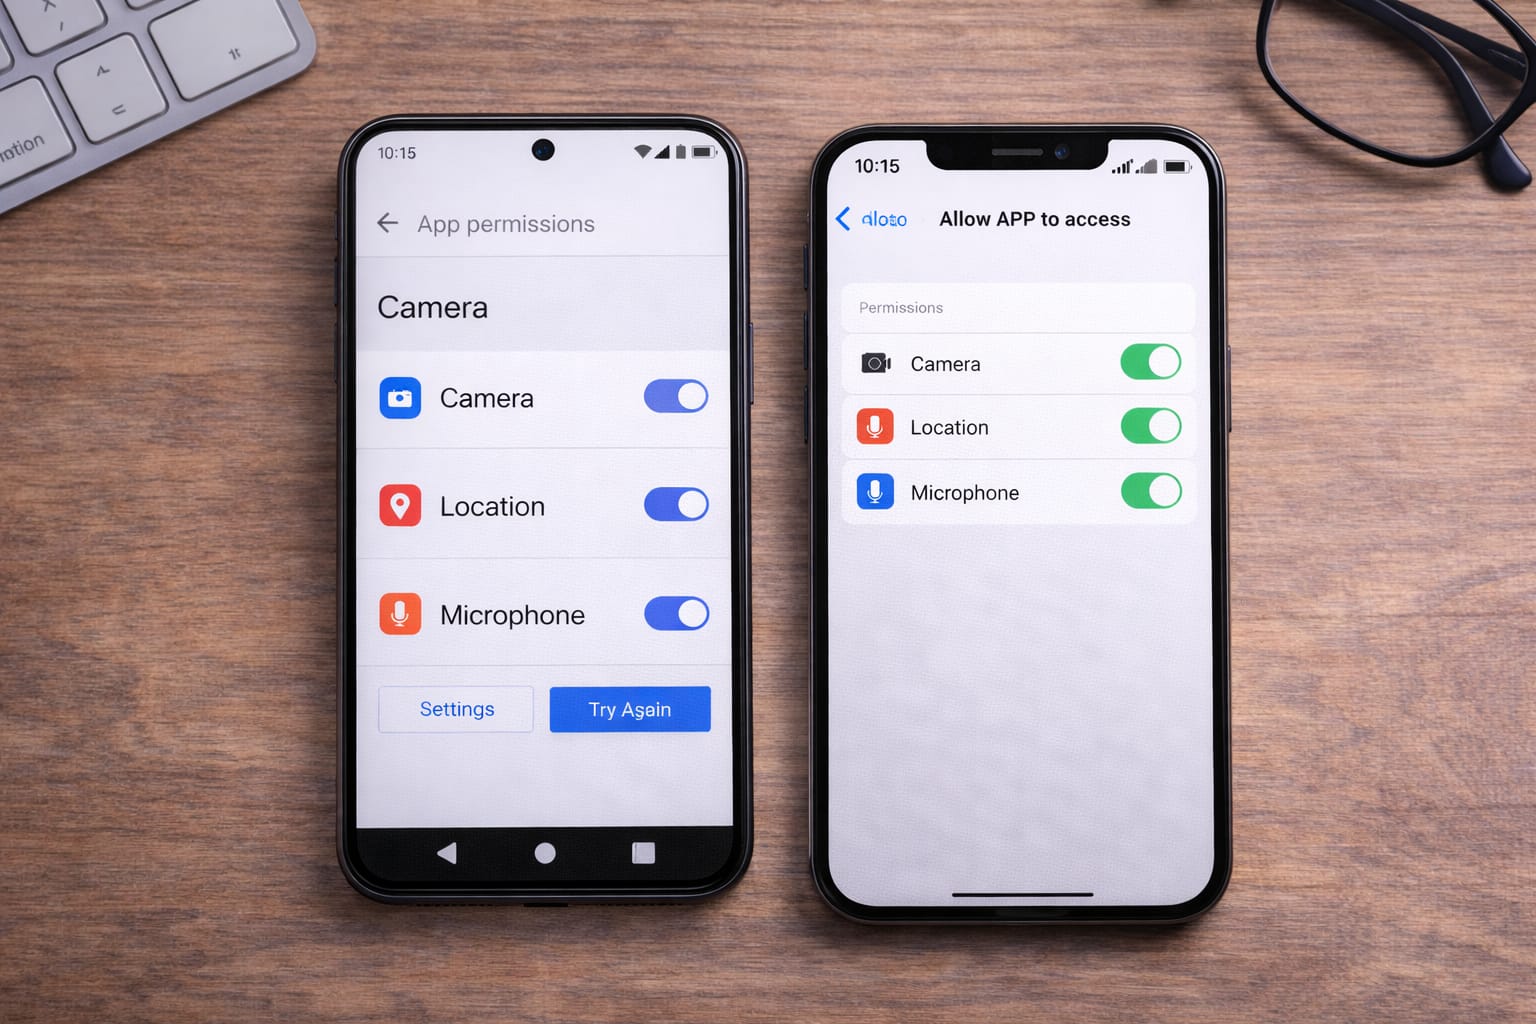
3️⃣ Turn Off Unwanted App Permissions
Some apps request access to microphone, contacts, or location when they don’t need it.
How to do this:
Android: Settings → Apps → [App Name] → Permissions
iPhone: Settings → [App Name] → Disable what you don’t need
[Insert Screenshot Step: Permissions List]
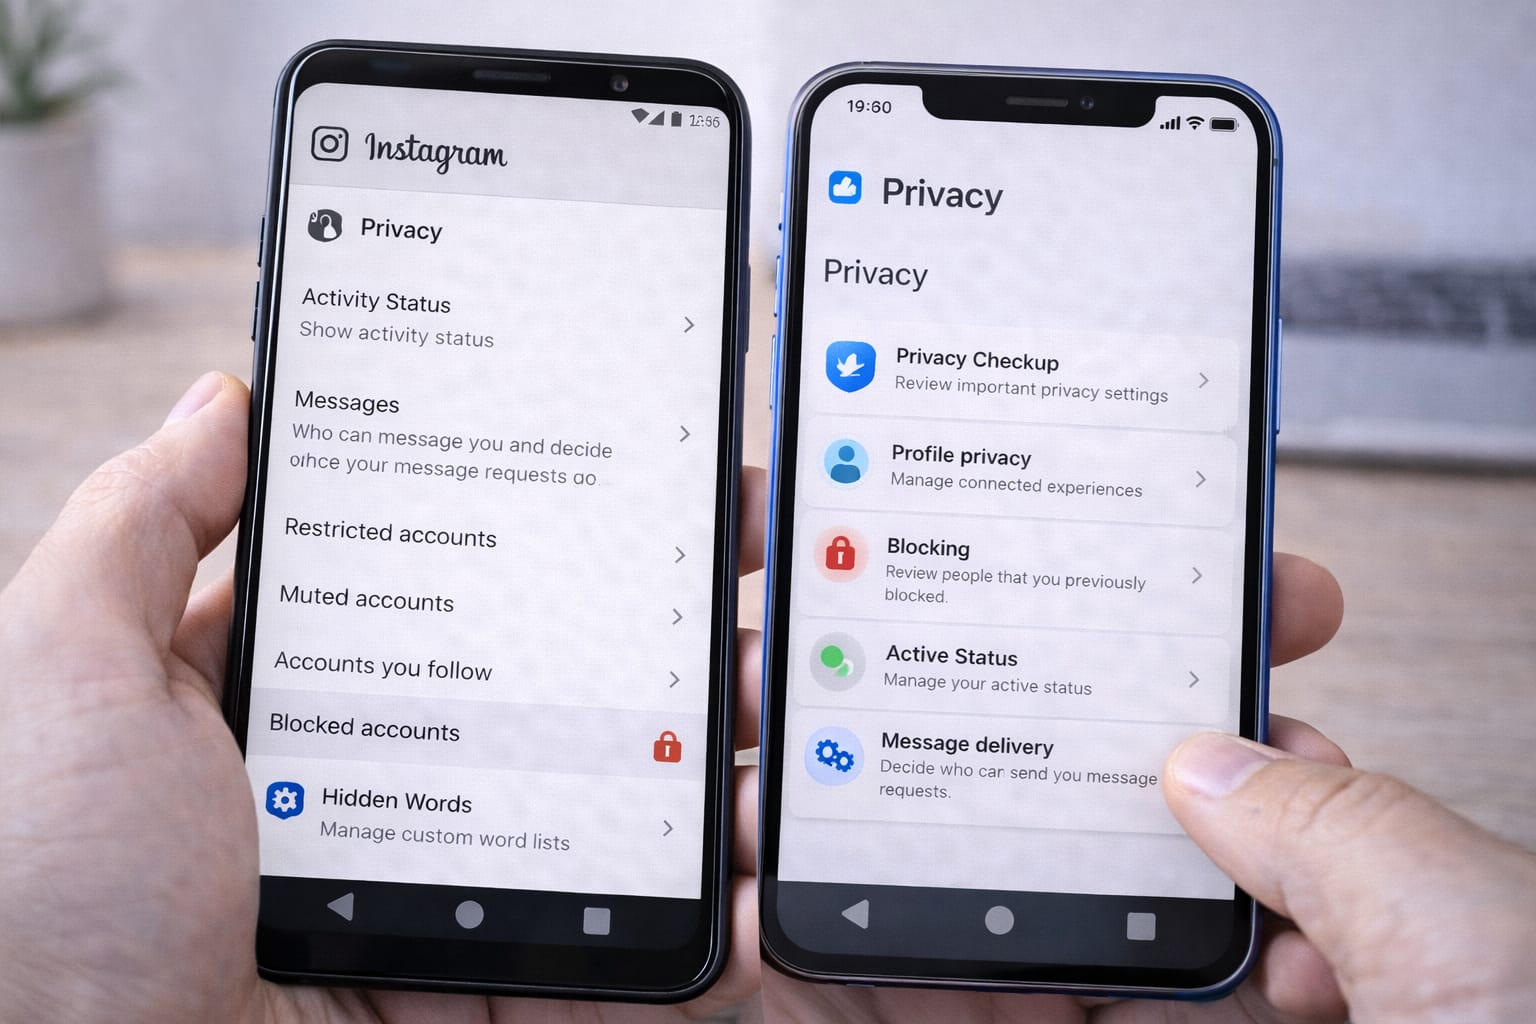
4️⃣ Adjust Privacy Settings (Who Can See Your Content)
Your posts, stories, and likes shouldn’t be public if you don’t want them to be.
Settings to check:
- Profile visibility (Public → Private)
- Who can comment
- Who can tag or mention you
- Who can send friend requests
According to several help centers, tightening privacy reduces spam and fake interactions.
5️⃣ Turn On “Login Alerts” for Suspicious Activity
Most platforms allow notifications when someone tries to log in.
Examples:
- Instagram: “Login security alerts”
- Facebook: “Get alerts about unrecognized logins”
This is one of the most useful social media settings for security.
6️⃣ Review “Ad Preferences” & Tracking Settings
You can reduce targeted ads and data collection.
Find it in:
- Settings → Privacy → Ads
- Settings → Activity → Off-Meta tracking (Facebook/Instagram)
This helps limit how much your activity is used for ad targeting.
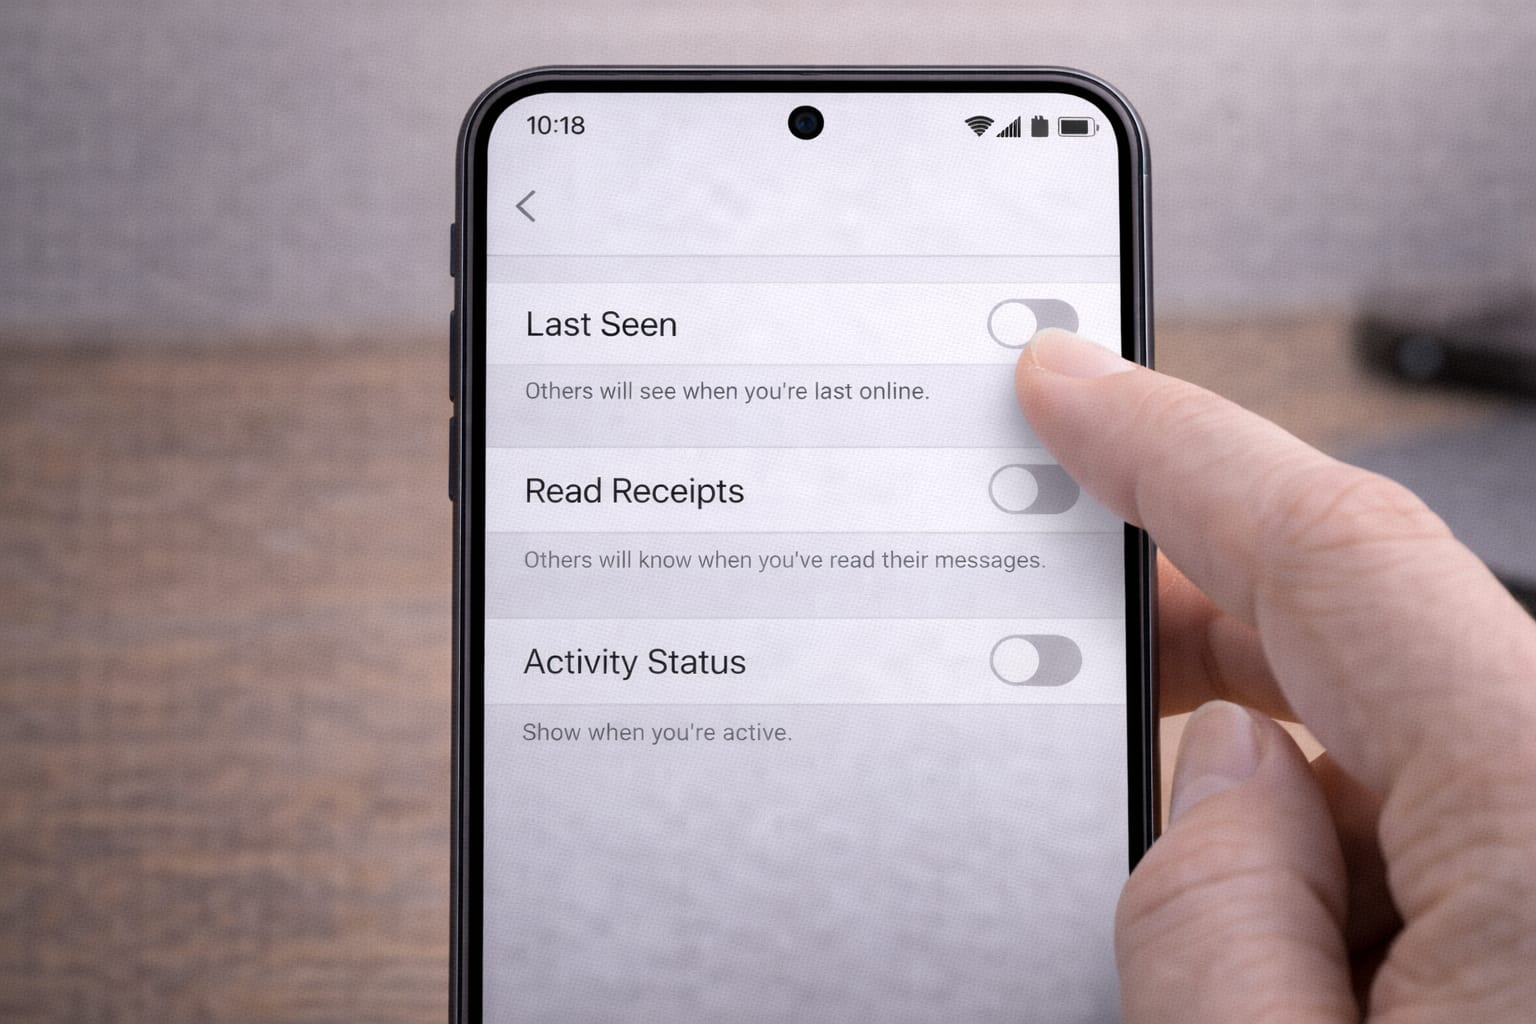
7️⃣ Turn Off “Last Seen,” “Read Receipts,” and Activity Status
Useful if you want more privacy.
Examples:
- WhatsApp → Settings → Privacy → Turn off Last Seen & Online
- Instagram → Settings → Privacy → Activity Status → Off
[Insert Screenshot Step: Activity Status Toggle]
8️⃣ Clear Cache & Reset Notification Settings
Many notification errors are caused by corrupted app data.
Android:
Settings → Apps → [Social App] → Storage → Clear Cache
iPhone:
Reinstall the app (iOS doesn’t allow manual cache clearing).
This solves issues like:
- Notification not showing
- Wrong badge count
- App freezing or not loading
Alternative Methods If These Settings Don’t Work
Use the Web Version
If Instagram or Facebook keeps crashing, open them in a browser.
This often works without requiring the app.
Log Out & Log Back In
Fixes session and syncing issues.
Reset Password
Useful if login attempts trigger blockage or suspicious activity alerts.
Check for App Outages
Search “Instagram down” or use Downdetector.
Reinstall the App
This is often the fastest fix for repeated setting glitches.
How to Contact Customer Support
Most platforms include built-in support and reporting tools:
Common paths:
- Instagram: Settings → Help → Report a Problem
- Facebook: Menu → Help & Support → Support Inbox
- TikTok: Settings → Support → Report a Problem
- WhatsApp: Settings → Help → Contact Us
Include:
- Device model
- App version
- Screenshots of the issue
- Steps you already tried
This helps support answering faster.
Conclusion
The most useful social media settings help keep your account secure, protect your privacy, and prevent common issues like login errors or unwanted notifications. Start with 2FA, check your permissions, and review your privacy controls. Follow these steps regularly to keep your online experience safe and smooth.
FAQs:
Q. Why is Instagram not saving my settings?
A. Instagram settings may not save because of a poor internet connection, an outdated app version, corrupted cache files, or a temporary server issue. Try updating the app, clearing the cache (on Android), and logging out and back in. If the problem continues, reinstalling the app usually fixes it.
Q. Why is Facebook not sending me a verification code?
A. Facebook may stop sending verification codes if too many requests were made, the phone number was entered incorrectly, or your mobile carrier is delaying messages. Restart your phone, turn off any VPN, and choose “Send to email instead” if available. Many users report that email verification works faster.
Q. Can I recover an account without an email or phone number?
A. Yes, in some cases. Certain platforms allow account recovery using trusted devices, identity verification, or special recovery forms. If these options are not available, you’ll need to submit proof of ownership through the platform’s help center. The recovery process varies by platform and may take several days.